
[How-To] Configure Zebra LifeGuard OTA in Workspace ONE UEM
Zebra LifeGuard OTA allows administrators to centrally manage operating system and security updates for supported Zebra Android devices through Omnissa Workspace ONE UEM.
This guide explains how to authorize Zebra LifeGuard OTA and deploy the Zebra Enrollment Manager app with the required enrollment token.
Requirements
- Workspace ONE UEM 24.10 or later
- Supported Zebra device running Android 8 or later
- Zebra account with the required LifeGuard licences and entitlements
Authorize Zebra LifeGuard OTA
Open the Workspace ONE UEM Console and navigate to:
Groups & Settings → All Settings
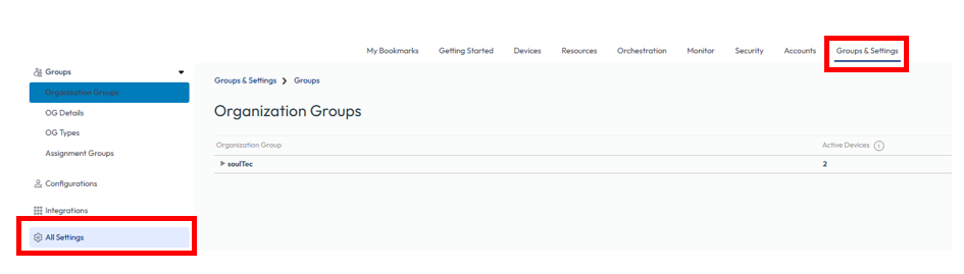
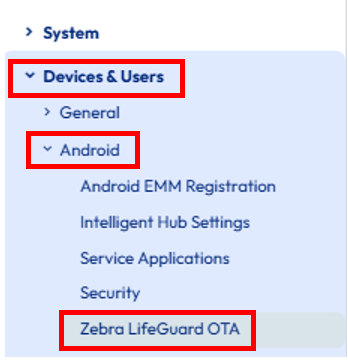
Select:
Devices & Users → Android → Zebra LifeGuard OTA
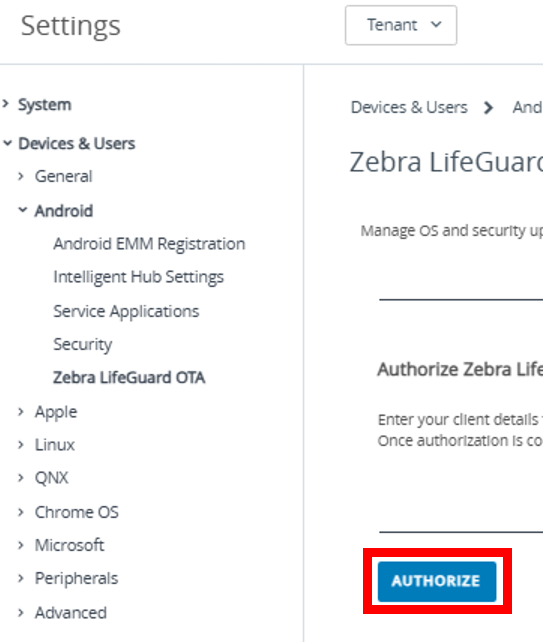
Click Authorize.
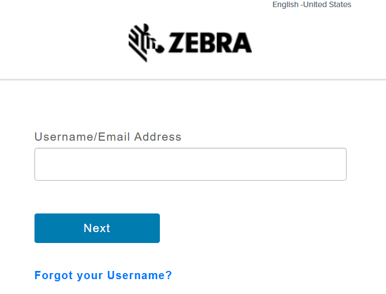
Sign in with your Zebra account and confirm the activation request.
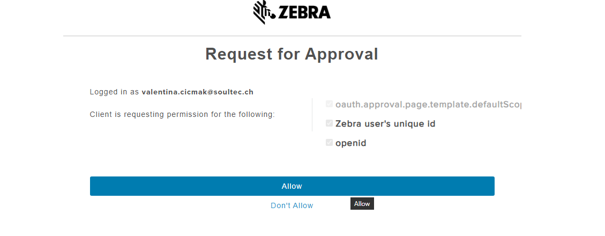
Click Allow to complete the authorization.
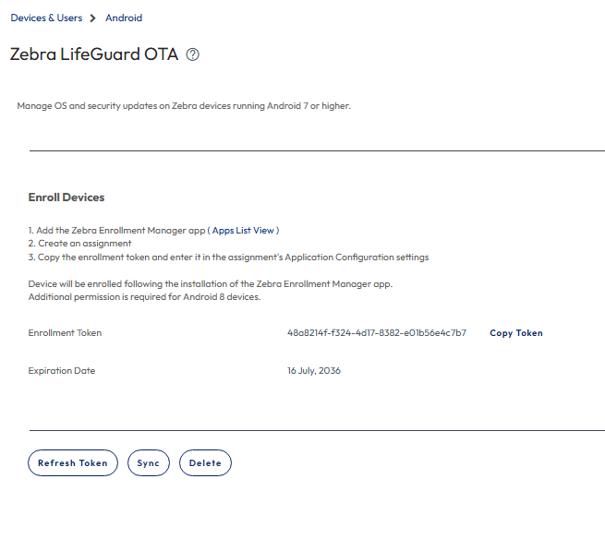
Close the Zebra browser tab and return to Workspace ONE UEM. The Enrollment Token should now be displayed. Copy the token. It will be required when configuring the Zebra Enrollment Manager app.
Add Zebra Enrollment Manager
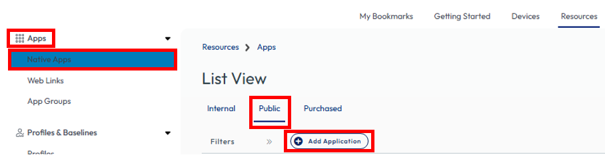
Navigate to:
Resources → Apps → Native Apps → Public → Add Application
Select Android from the platform menu.
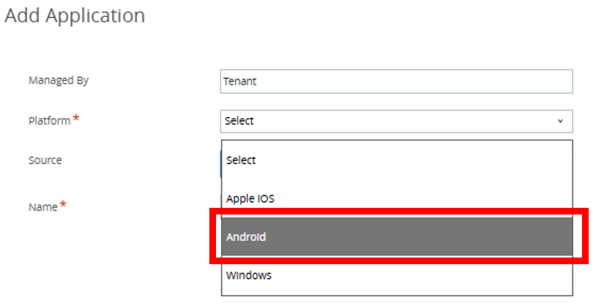
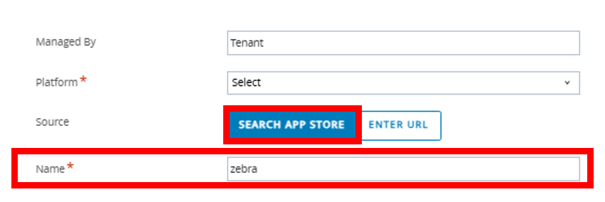
Enter Zebra in the Name field and click Search App Store.
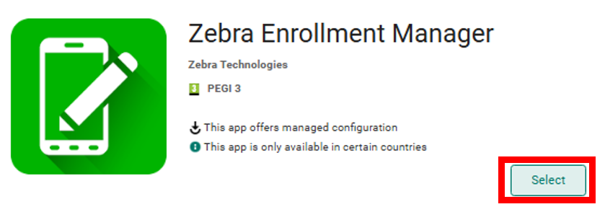
Select Zebra Enrollment Manager and click Select.
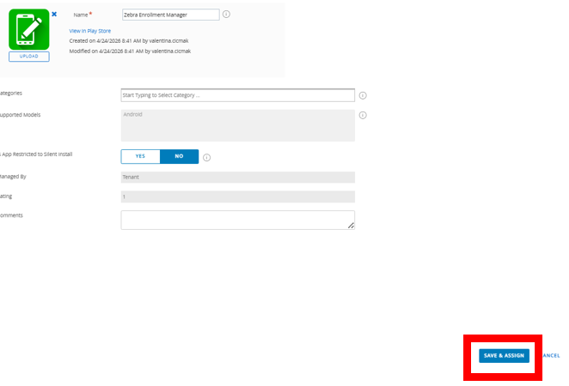
Configure the required application settings and click Save & Assign.
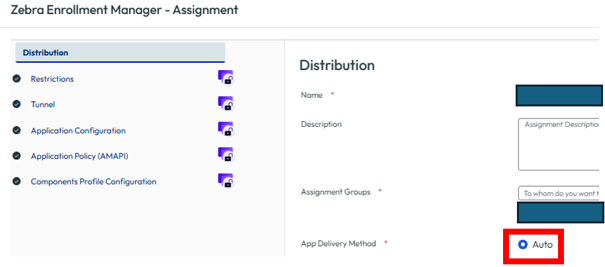
Create an assignment for the required Zebra device group and set App Delivery Method to Auto.
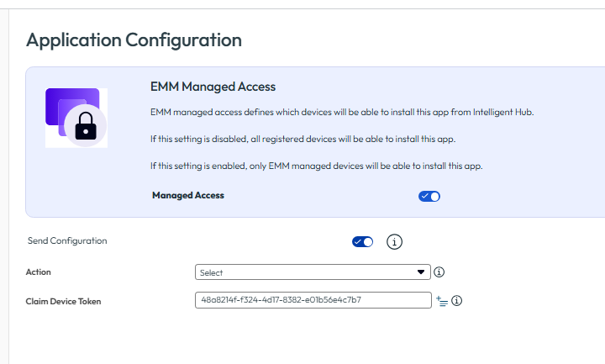
Open Application Configuration and paste the previously copied enrollment token into the Claim Device Token field.
Save and publish the assignment.
The Zebra Enrollment Manager app is now automatically installed on the assigned devices and registers them with Zebra LifeGuard OTA.
Manage Zebra Updates
Navigate to:
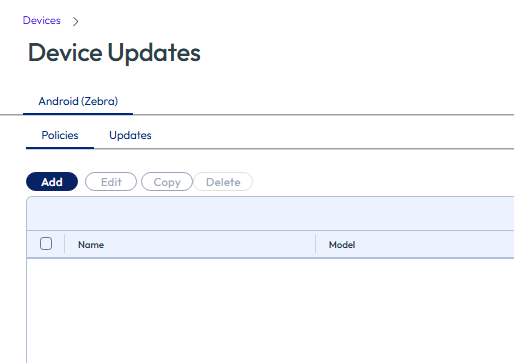
Devices → Device Updates → Android (Zebra)
Next Steps
If you’ve read this far then chances are you are still having issues. Feel free to reach out to us. We’re happy to help out!



Leave a Reply